Home composting is a simple, sustainable, and incredibly rewarding practice for anyone looking to nourish their soil naturally while reducing waste. If you’re a beginner eager to turn food scraps and yard waste into rich fertilizer for your plants, this article is for you! Let’s dive into what composting is, why it’s so important, and how you can start your own compost system at home. Get ready to be inspired and get your hands dirty!
What is composting and why is it so amazing?
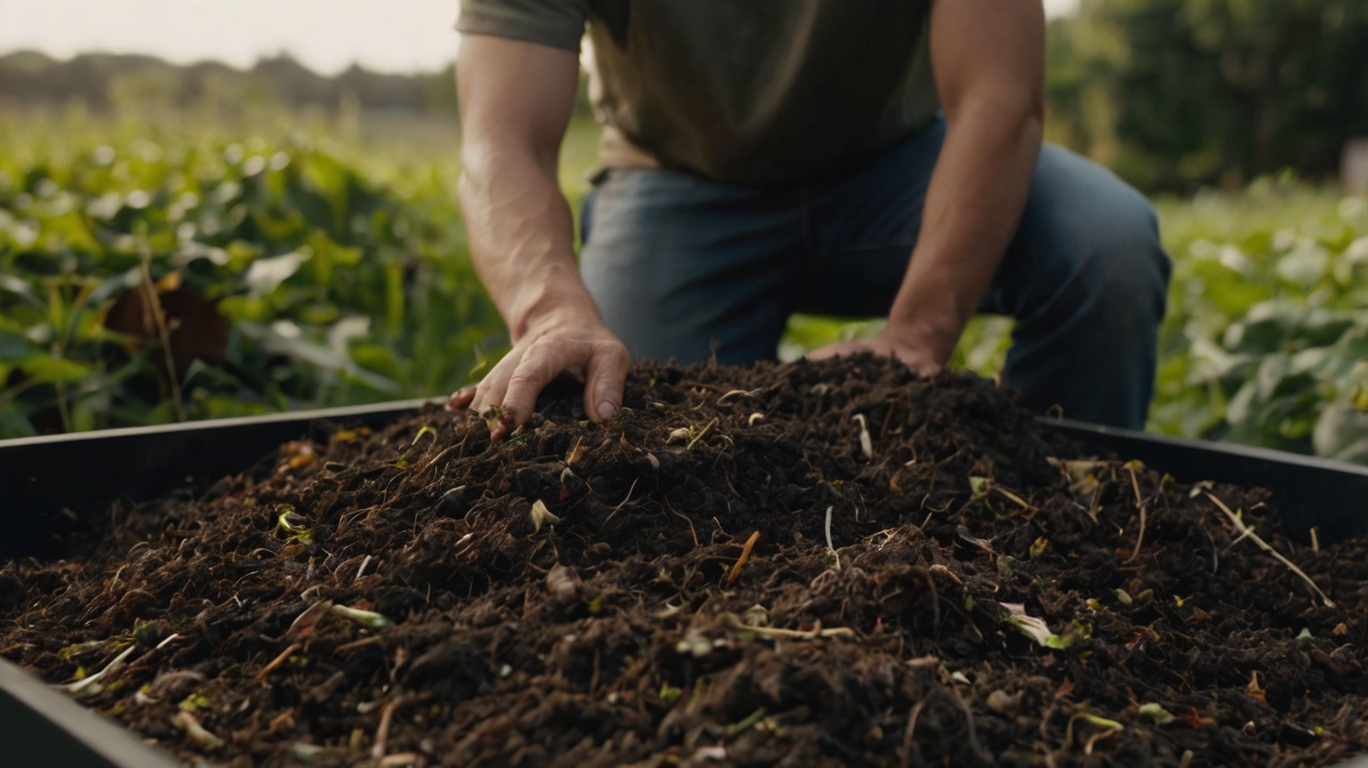
Composting is the process of transforming organic waste, like fruit peels, vegetable scraps, and dry leaves, into a nutrient-rich material called compost. This “black gold” is a natural fertilizer that improves soil health, enhances water retention, and provides essential nutrients for your plants.
Beyond that, composting is a powerful way to reduce waste. Did you know that about 30% of household waste is organic material that could be turned into compost? By composting, you reduce the amount of trash sent to landfills, cut down on greenhouse gas emissions, and contribute to a healthier planet. It’s a win-win solution!
Benefits of home composting
Why invest time in composting? Here are some reasons that will convince you:
- Sustainability: Reduces waste and promotes a natural nutrient cycle.
- Cost savings: Cuts down on the need to buy chemical fertilizers.
- Soil health: Compost improves soil structure, helping plants grow stronger.
- Accessibility: Anyone can do it, even in small spaces like apartments.
- Connection to nature: It’s a way to reconnect with the cycle of life and care for the environment.
If you’re just starting out, composting is a practical way to embrace a more sustainable lifestyle without complications.
Materials you can (and can’t) compost
For successful composting, it’s crucial to know what can and cannot go into your compost bin. Let’s break it down:
“Green” materials (nitrogen-rich)
- Fruit and vegetable scraps (banana peels, carrot tops, apple cores, etc.)
- Coffee grounds
- Fresh grass clippings and garden trimmings
- Eggshells (crushed)
“Brown” materials (carbon-rich)
- Dry leaves
- Cardboard and non-coated paper (like egg cartons)
- Straw or sawdust
- Small twigs
What to avoid
- Dairy, meat, and fish scraps (they attract pests and cause odors)
- Oils and fats
- Chemically treated materials (like treated wood)
- Pet waste (may contain pathogens)
The ideal ratio is about 3 parts brown materials to 1 part green materials. This ensures a balance of carbon and nitrogen, essential for healthy decomposition.
How to start your home compost system
Ready to get started? Here’s a step-by-step guide to setting up your compost system, even as a beginner:
1. Choose your compost system
- Bucket composter: Perfect for apartments. Use stackable buckets with holes for ventilation.
- Backyard composter: A larger container, like a wooden box or barrel, works well in gardens.
- Vermicomposting: Uses worms to speed up the process, ideal for quick results.
2. Pick the right location
Choose a spot with good ventilation, partial shade, and easy access. In apartments, a laundry area or balcony works great. In a yard, avoid overly wet or sunny spots.
3. Build the base
Start with a layer of brown materials (like dry leaves) to absorb moisture and prevent odors. Add green materials on top and mix well.
4. Maintain your compost
- Aeration: Turn the compost every 1-2 weeks to ensure oxygen flow.
- Moisture: The compost should feel like a wrung-out sponge. If it’s too dry, add water; if too wet, add more brown materials.
- Patience: Composting can take 2 to 6 months, depending on conditions.
5. Use your compost
When the material is dark, crumbly, and odor-free, it’s ready! Use it in pots, garden beds, or your yard to nourish your plants.
Tools and resources for composting
To make your composting journey even smoother, here are some tools and resources that can help:
- Compost bin: You can buy a ready-made composter or make your own with a plastic bin or wooden crate. Look for ones with lids and ventilation holes.
- Pitchfork or shovel: Useful for turning larger compost piles in a backyard.
- Kitchen scrap container: A small countertop bin with a tight lid keeps food scraps contained until you add them to the composter.
- Worm bin kit: If you’re trying vermicomposting, a worm bin with red wiggler worms is a great investment.
- Composting thermometer: Helps monitor the temperature to ensure the pile is decomposing properly (ideal range: 130–150°F or 54–66°C).
For beginners, online resources like local gardening blogs, YouTube tutorials, or community forums can provide tips and inspiration. Many cities also offer free composting workshops—check your local government or community garden websites!
Common mistakes to avoid
As a beginner, it’s easy to make a few missteps. Here’s how to avoid the most common composting pitfalls:
- Adding too many greens: Too much food waste can make the pile soggy and smelly. Always balance with brown materials.
- Forgetting to turn the pile: Without aeration, decomposition slows down. Stir your compost regularly to keep it active.
- Using the wrong container: A composter without ventilation or drainage can trap moisture and cause problems. Ensure your setup allows airflow.
- Expecting instant results: Composting takes time. Don’t rush it—let nature do its work.
- Ignoring local wildlife: If you’re composting outdoors, secure the bin to prevent animals like raccoons or rodents from getting in.
By avoiding these mistakes, you’ll set yourself up for composting success from the start.
Tips for composting beginners
If you’re new to composting, here are some tips to ensure success:
- Start small: You don’t need a huge composter. A small bucket works fine.
- Control odors: Always cover green materials with a layer of browns.
- Observe and learn: Composting is a living process. Over time, you’ll figure out what works best for you.
- Try worms (if you want): Vermicomposting is great for faster results and can be fun!
- Don’t give up: If something goes wrong, adjust the mix or aeration and keep going.
Troubleshooting common composting issues
Sometimes, composting comes with challenges. Here are the most common issues and how to fix them:
- Bad odor: Likely too many green materials or excess moisture. Add more browns and mix well.
- Pests: Avoid meat or dairy scraps and keep the composter tightly sealed.
- Slow decomposition: May need more nitrogen (add greens) or aeration (turn more often).
- Too dry or wet: Adjust moisture with water or brown materials as needed.
Composting and sustainability: A bigger impact
Beyond nourishing your plants, composting has a broader environmental impact. By reducing organic waste, you help cut down on methane production in landfills, a gas that contributes to global warming. Plus, using compost reduces reliance on chemical fertilizers, which can pollute rivers and groundwater.
Think about it: every pound of organic waste you compost is a pound less in the landfill. If everyone adopts this practice, the collective impact can be massive! Composting is a small step with a big difference.
Inspiring composting stories
To motivate you further, here are some real-life stories:
- Anna from Seattle: Living in a small apartment, Anna started composting in a bucket on her balcony. Now, she uses the compost to grow herbs and veggies in pots, saving money on groceries.
- John from Austin: John turned his backyard into a green oasis using homemade compost. He says his plants have never been healthier!
- Community in Portland: A group of neighbors set up a community composter, turning waste from 20 households into fertilizer for a shared garden.
These stories show that anyone, anywhere, can make a difference with composting.