Hey there, how are you? You know that moment when you look around your home and think, “This place needs a little life”? I’ve felt that a thousand times—until I discovered the magic of vertical gardens. And the best part? You can create one using recycled materials, spending almost nothing while giving your home a fresh new vibe! In this 2,000-word guide, I’ll show you how to build a vertical garden with recycled materials, blending gardening with cozy home vibes. Get ready for practical tips, a few stories from my own green journey, and a sprinkle of fun motivation. Grab a lemonade (or a coffee, if that’s your style), and let’s turn your space into a sustainable oasis!
Why a Vertical Garden with Recycled Materials?
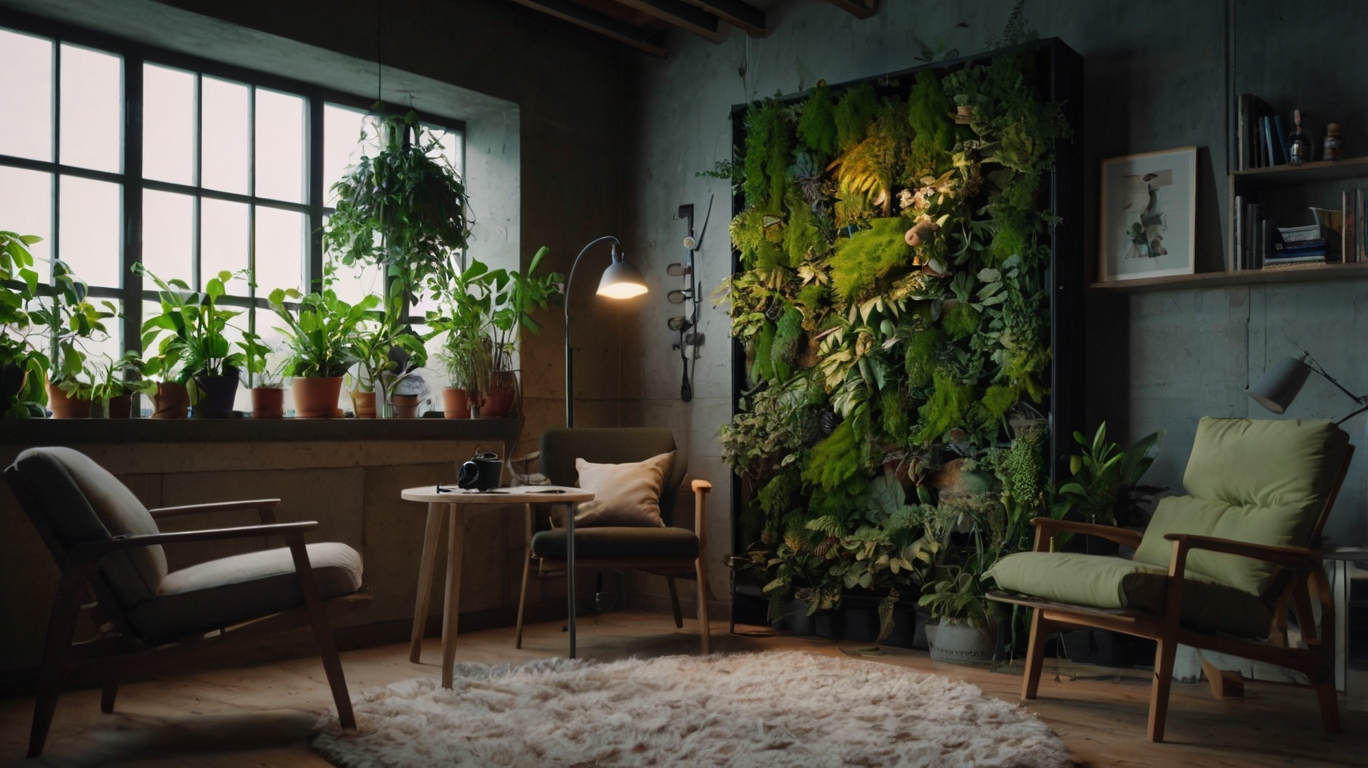
A vertical garden is like a living painting that brings nature into any little corner—your balcony, living room, kitchen, or even a dull hallway. And using recycled materials? Not only is it environmentally friendly, but it also gives you that amazing feeling of creating something unique with what you already have at home. When you blend gardening with a cozy home atmosphere, you end up with a space that’s not only beautiful but also tells your story. And honestly, you don’t need to be a plant expert or have a huge backyard. My 2-square-meter balcony is living proof! Ready to learn how?
1. Planning Your Vertical Garden: The First Step
Before grabbing cans and pallets, let’s plan. I learned this the hard way when my first vertical garden… well, collapsed (totally my fault—I overdid it with the pots!). Here’s how to start off on the right foot:
Choose the Location
- Light: Most plants need at least 4 hours of indirect sunlight a day. Succulents and herbs like basil love light, while ferns and pothos enjoy partial shade.
- Space: Measure the wall or area where you’ll install your garden. My balcony is small, so I picked a narrow wall beside the door.
- Access: Think about watering and maintenance. Choose a spot where you can reach the plants without turning into an acrobat.
Define Your Style
Do you want a rustic look with pallets? A modern vibe with plastic bottles? Or a boho feel with painted cans? I went with a rustic style because I love the natural wood look, but feel free to get creative!
2. Recycled Materials: What to Use?
The charm of a recycled vertical garden is in using what’s already around. Here are some ideas I’ve tested and loved:
- Wooden Pallets: Perfect for a rustic look. Many stores and markets give away used pallets. Just sand them well to avoid splinters!
- Plastic Bottles (PET): Cut them in half, poke drainage holes, and turn them into planters. Great for herbs or succulents.
- Aluminum Cans: From corn, tomato sauce, or cocoa. Wash, paint, and they’re good to go!
- Crates: Stack or mount them for a vintage touch.
- PVC Pipes: Cut in half or use whole sections for larger plants.
My Story: My first attempt was with tomato sauce cans. I painted them white, added some floral stickers, and planted basil. They turned out so cute that my neighbor asked to copy the idea!
3. Step-by-Step: Building Your Vertical Garden
Now for the practical part! I’ll guide you based on my pallet-style vertical garden, but you can adapt this for any material.
Materials Needed:
- One wooden pallet (or other recycled material like cans or bottles)
- Sandpaper and paint/stain (optional, for a nice finish)
- Gardening fabric (or plastic bags with holes for drainage)
- Small pots or recycled containers
- Plants (suggestions below)
- Screws, wall plugs, and a drill
- Soil, compost, and pebbles
Step 1: Prepare the Pallet
- Sand: Use coarse sandpaper to remove splinters. I spent about 20 minutes on this while listening to my favorite playlist.
- Paint (optional): Use outdoor paint or wood stain. I painted mine white to match my balcony.
- Line it: Staple gardening fabric to the back and sides to hold the soil. If you don’t have it, use plastic bags with holes.
Step 2: Choose the Plants
For small balconies, pick plants that stay compact or are easy to maintain:
- Succulents: Low water needs and super charming.
- Herbs: Basil, rosemary, mint. Beautiful and edible!
- Pothos: Trailing growth gives a cascading effect.
- Ferns: Love shade and add a tropical feel.
I mixed succulents with basil and pothos. The contrast in texture looked amazing!
Step 3: Prepare the Pots
- Fill the containers (cans, bottles, pots) with soil mixed with organic compost.
- Plant carefully, leaving room for roots to breathe.
- Cover with pebbles for a nice finish and to help retain moisture.
Step 4: Mount the Pallet
- Use a drill to secure the pallet to the wall with screws and wall plugs. Make sure it’s firmly attached (I learned that after my “oops” moment).
- If you don’t want to drill into the wall, lean the pallet against it and reinforce the base.
Step 5: Arrange the Plants
- Place the pots in the pallet’s openings. I used zip ties to secure some, but you can also rest them in natural “shelves” if your pallet has them.
- Hang trailing plants like pothos for a waterfall effect.
Step 6: Add Cozy Touches
- Add solar LED string lights for a magical nighttime vibe.
- Place a cushion or small stool to enjoy the space.
- I hung a wind chime made from old cutlery—sounds lovely!
4. Caring for Your Vertical Garden
Vertical gardens are easy to care for but need love. Here are my tips:
- Watering: Succulents need water once a week; herbs and ferns every 2–3 days. Use a spray bottle to avoid overwatering.
- Sunlight: Rotate the pots occasionally so all plants get their fair share of light.
- Feeding: Every two months, use diluted liquid fertilizer. My plants love it!
- Cleaning: Trim dry leaves and clean the containers to prevent pests.
My Funny Mistake: Once, I got too excited watering my basil and turned the soil into mud, which spilled all over the balcony. Now I use little trays under each pot!
5. Why Is This So Special?
Besides being beautiful, a recycled vertical garden is sustainable and connects you with nature. Every time I look at mine, I feel proud of having created something with my own hands. And the best part? It changes the energy of your home. My balcony went from a “forgotten corner” to “my favorite place to daydream.” It’s the essence of gardening and cozy living!
6. Extra Inspiration to Personalize
- Paint the Pots: Use colorful paints or freehand designs. I painted white polka dots on mine—adorable!
- Stickers or Stencils: Waterproof stickers or stencils with phrases like “Green Life” or “Grow Wild.”
- Texture Mix: Combine trailing plants like ivy with upright ones like cacti for a dynamic look.
7. My Green Journey
When I started, I thought gardening was for people with big yards and tons of free time. But with a pallet and a few old cans, I discovered anyone can build a green corner. My balcony is now my sanctuary, where I water the plants, sip tea, and reflect on life. And it all began with a simple idea and materials that were headed for the trash!